

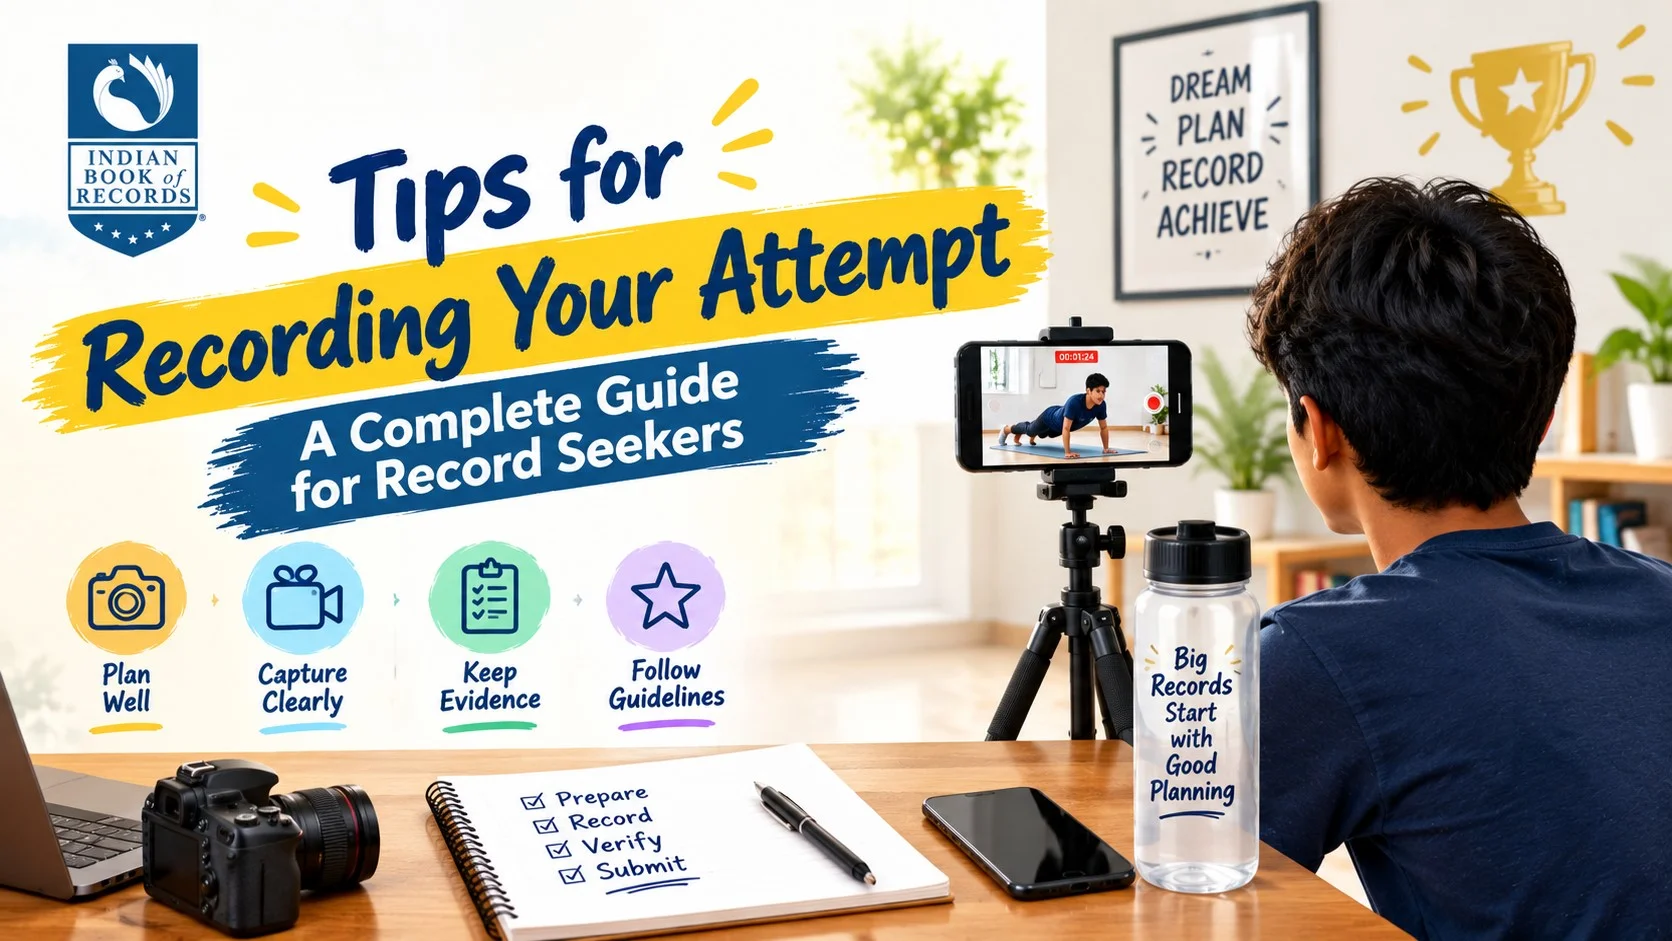
So you're ready to chase a record. You've trained, prepared, and picked your challenge. But here's the part most people underestimate: how you document it matters just as much as the attempt itself. Poor footage is one of the top reasons genuine record attempts get rejected. These tips for recording your attempt will help you capture flawless proof that stands up to scrutiny — whether you're applying to Indian Book of Records or any other record-keeping body.
Why Proper Recording Matters for Your Record Attempt
A record attempt without solid video proof is just a story. Verifying bodies need clear, continuous, and unedited footage to confirm your achievement actually happened the way you claim. Following the right tips for recording your attempt from the start saves you from redoing the entire challenge later because of a technical oversight.
Best Equipment for Recording Attempts
You don't need a Hollywood setup, but a few essentials go a long way:
A reliable primary camera – A smartphone with a good camera works fine, but a dedicated camcorder or DSLR gives sharper, more stable footage.
A backup recording device – Batteries die and storage fills up. Always have a second device running in parallel.
A tripod or stabilizer – Shaky footage raises doubts. Keep the camera steady throughout.
External microphone (if audio matters) – For attempts involving commentary, counting, or spoken confirmation, clear audio is essential.
Sufficient storage and battery backup – Long attempts need long recording capacity. Carry extra memory cards and power banks.
How to Record a Challenge Attempt Step-by-Step
Set up before you begin. Position your camera(s) to capture the entire activity area, not just a close-up of yourself.
Start recording before the attempt starts. Capture the setup, the starting point, and a visible clock or timestamp.
Keep the recording continuous. Do not pause, cut, or edit during the attempt. One unbroken take is the gold standard.
Use multiple camera angles where possible. A wide shot for context and a close shot for detail strengthens your evidence.
Include a witness or observer on camera, especially for attempts involving counts, distances, or timed actions.
Record the finish clearly. Show the exact moment your attempt ends, along with any final measurement or count.
Stop recording only after everything is confirmed on camera, including your total result and the time or date.
Rules for Filming a Record Attempt
Most record-verification organizations, including Indian Book of Records, follow similar filming guidelines:
Footage must be unedited and continuous, with no cuts or splices.
A visible timestamp or clock should be present in the frame.
The entire attempt must be visible — no gaps where the camera is turned away.
Witnesses, if required for your category, should be clearly visible and identifiable.
Submit raw, original files rather than compressed or re-uploaded copies whenever possible.
Following these rules for filming a record attempt isn't just a formality — it's what allows verifiers to trust and approve your submission quickly.
Common Recording Mistakes That Get Attempts Disqualified
Even skilled record-breakers lose their shot due to avoidable errors:
Editing the footage, even just to trim boring parts — this immediately raises red flags.
Poor lighting, making it hard to see key details of the attempt.
No visible timer or clock, leaving the duration or timing unverifiable.
Camera cutting away at a crucial moment, even briefly.
Running out of storage or battery mid-attempt, forcing an incomplete recording.
No backup footage, so a single technical failure ends the entire attempt.
Avoiding these mistakes is one of the simplest yet most overlooked tips for recording your attempt successfully.
How Long Should Attempt Footage Be?
Your footage should cover the entire duration of the attempt, from setup to completion, with no gaps. If your challenge lasts three hours, your footage should too. Verifying bodies expect complete, real-time proof — not highlights or summaries.
Final Tips Before You Hit Record
Test your equipment a day in advance, not minutes before you start.
Check lighting and audio conditions at the actual location.
Confirm you have enough storage for the full expected duration.
Read the specific submission guidelines of the record body you're applying to, since requirements can vary slightly by category.
Frequently Asked Questions
Q: Can I edit my attempt video before submitting it? No. Submissions must be unedited and continuous. Editing, even to remove pauses, can lead to disqualification.
Q: Do I need a witness while recording my attempt? For many record categories, yes. A visible, identifiable witness adds credibility and is often a requirement.
Q: What if my camera runs out of battery mid-attempt? This is why a backup device and extra power banks are essential. An interrupted recording generally cannot be used as valid proof.
Q: Does the footage need a visible timestamp? Yes, a visible clock or timestamp in the frame helps verifiers confirm the timing and authenticity of your attempt.
Ready to Attempt Your Record?
Recording your attempt correctly is just as important as the achievement itself. Follow these tips for recording your attempt, prepare your equipment in advance, and make sure your footage meets all verification requirements. Once you're ready, submit your attempt to Indian Book of Records and take the first step toward getting your achievement officially recognized.